Prepare Artwork for Custom Stickers: 5 Pro Tips (2026)
To prepare artwork for custom stickers, save your design as a high-resolution file (300 DPI) using CMYK color mode. Vector formats like AI, EPS, or PDF are ideal for maintaining sharpness. Ensure your file includes a 1/8-inch bleed and a transparent background to allow for precise custom shape cutting.
What is the best file format for sticker printing?
Choosing the right file format is the first step toward getting a professional-looking product. When you are ready to place acustom order, the format you choose determines how sharp your lines look and how accurate your colors remain.
Vector files (AI, EPS, SVG, or PDF) are the gold standard. Since these files are based on mathematical paths rather than pixels, they can be scaled to any size—from a tiny laptop sticker to a massive wall decal—without ever losing quality. If you are designing a logo or text-heavy graphic, vectors are your best friend.
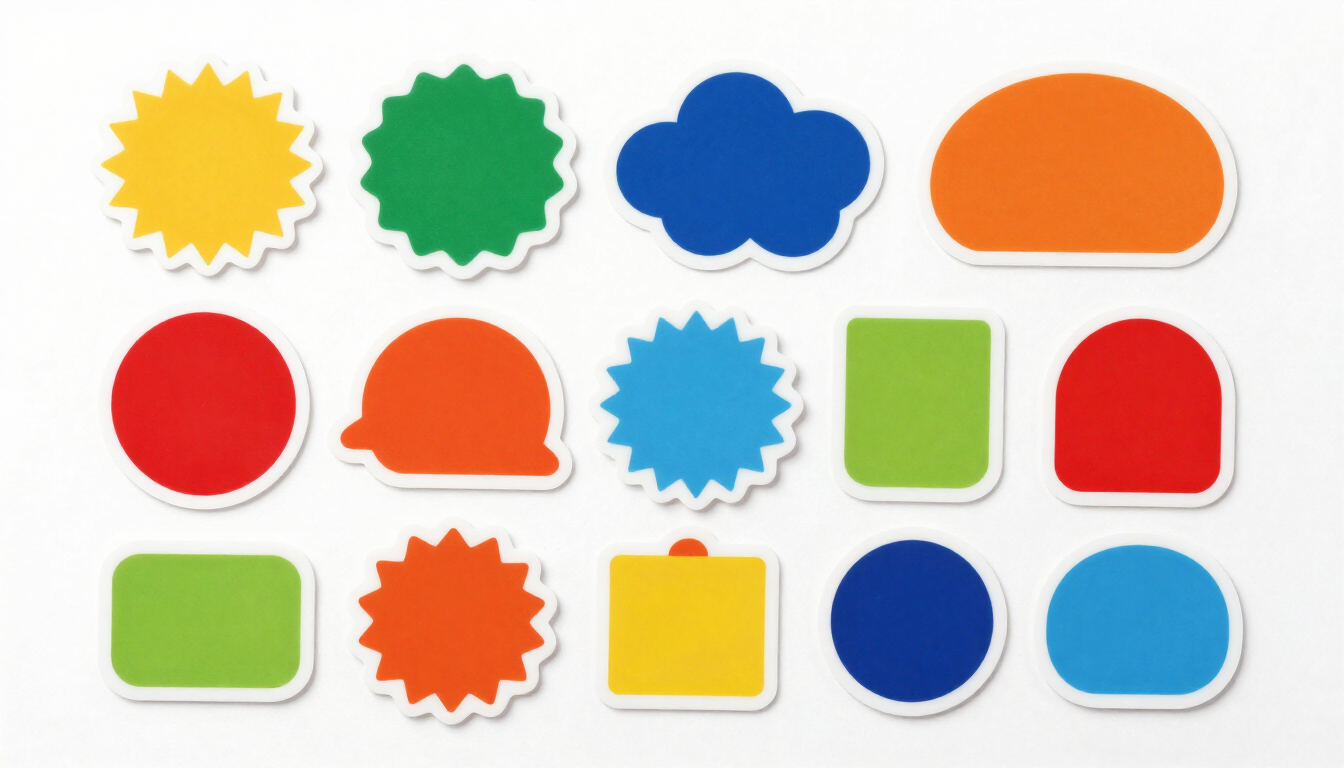
If you can’t provide a vector file,high-resolution raster files (PNG, TIFF, or PSD) are acceptable. However, they must be created at the actual size you want them printed. For example, if you want a 3-inch sticker, your canvas should be at least 3 inches at 300 pixels per inch. Always ensure your PNG has a transparent background; otherwise, your sticker might end up with an unwanted white square around the edges. This is particularly important when exploring our varioussticker types, as transparent backgrounds help us define the cut path for unique shapes.

Understanding CMYK vs. RGB for Stickers
One of the most common surprises for customers is the "color shift." Most digital designs are created inRGB (Red, Green, Blue) mode because that is how computer screens display light. However, professional printers useCMYK (Cyan, Magenta, Yellow, Black) inks.
When an RGB file is sent to a printer, the software has to translate those light-based colors into ink-based ones. This can cause vibrant neon greens or electric blues to look slightly duller or "muddy" in the physical print. To avoid this, always set your color space to CMYK at the start of your design process. This gives you a more accurate representation of what the final physical sticker will look like once it’s in your hands.
Why does resolution matter for custom stickers?
Resolution is the difference between a crisp, professional sticker and a blurry, pixelated mess. We always recommend a minimum of300 DPI (dots per inch).
Many images found on the web are only 72 DPI, which is fine for a screen but looks grainy when printed. If you try to "upscale" a low-resolution image by simply typing in a higher number in your photo editor, the software just stretches the existing pixels, resulting in a "soft" or blurry image. Always start with a high-quality source. If you are taking a photo or creating a digital painting, make sure your initial settings are high enough to support the physical size of the sticker you desire.
How do I set up my sticker cut lines and bleed?
Setting up your cut lines correctly ensures that your design isn't accidentally cropped and that there are no awkward white slivers along the edges.
- The Bleed: This is the area of your design that extends past the final cut line. We recommend a 1/8-inch (3mm) bleed. If your design has a background color or pattern, let it "bleed" off the edges so that if the cutting machine shifts slightly, your sticker still looks perfect.
- The Safety Zone: Keep all important text and essential parts of your logo at least 1/16-inch away from the cut line.
- Cut Paths: You don't necessarily need to draw the cut line yourself—our team can often handle that—but providing a clear, high-contrast edge or a transparent background makes it much easier for us to create a precise die-cut or kiss-cut path for you.

Essential Pre-Flight Checklist
Before you hit the upload button, run through this quick checklist to ensure your stickers come out exactly as you imagined:
- Format: Is it a Vector (AI/PDF) or a high-res PNG (300 DPI)?
- Color Mode: Is your document set to CMYK?
- Background: Is the background transparent (unless you want a solid color)?
- Text: Have you converted all your fonts to "outlines" or "shapes" so they don't change?
- Bleed: Does your background color extend past the intended cut line?
Conclusion: Getting the Perfect Print
Preparing your artwork correctly is the secret to a sticker that stands out. By focusing on high resolution, the correct color mode, and proper bleed settings, you eliminate the guesswork and ensure a high-quality result. At Sticker Hey!, we want your custom stickers to look as vibrant and professional as the designs you created.
Quick Takeaways:
- Use300 DPI for crisp details.
- Switch toCMYK to prevent color surprises.
- Stick toVector formats whenever possible for infinite scalability.
- Always include ableed to account for cutting variances.
Ready to see your design come to life? Head over to oursticker typespage to choose your material and start your next project today!
Recent Posts